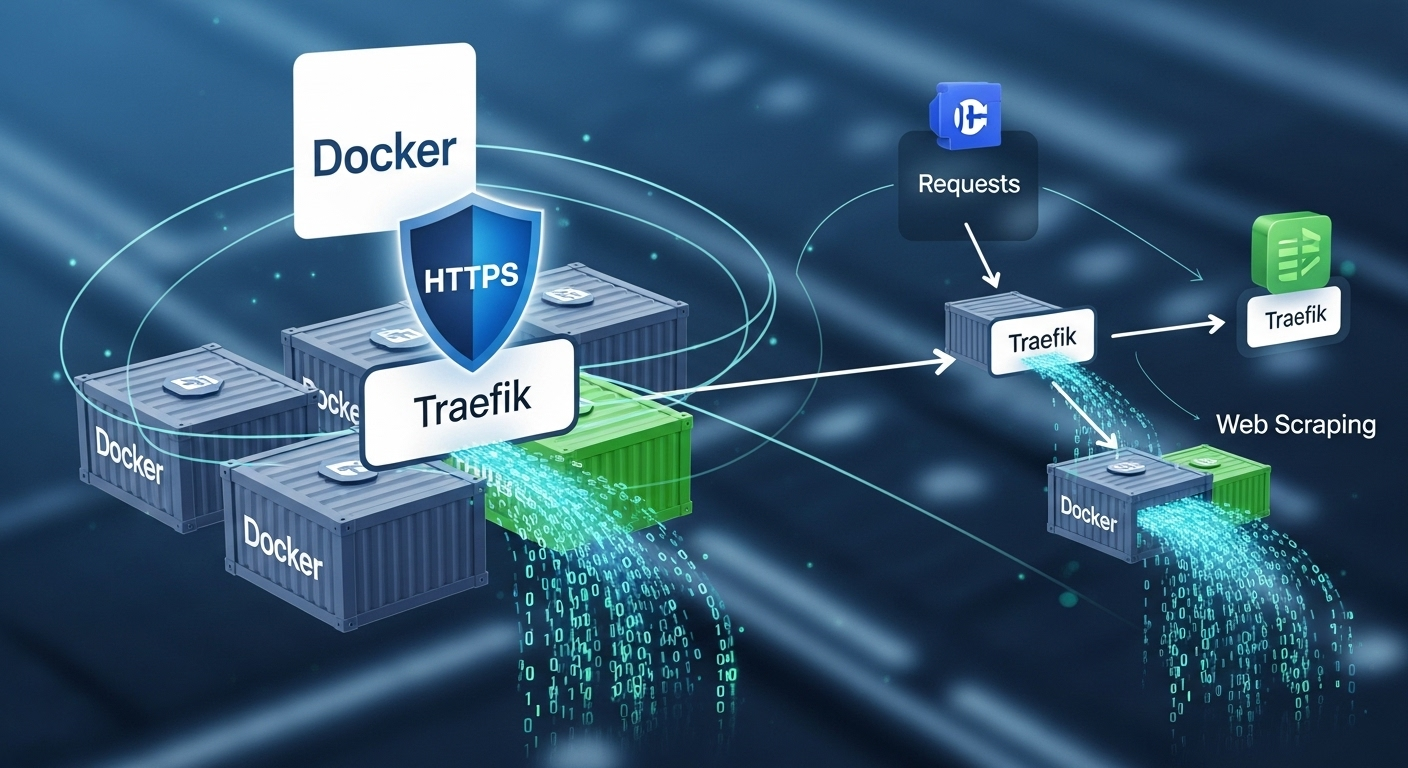
Hey there! If you’re a developer or DevOps enthusiast working with Docker, you’ve probably wrestled with managing web applications—especially when it comes to routing and security. I’ve been there too, and that’s why I’m excited to walk you through setting up Traefik, an amazing free and open-source reverse proxy. In this guide, I’ll show you how to use Traefik to handle HTTPS effortlessly with Docker, ditch those annoying browser certificate warnings, and even sprinkle in some web scraping magic with Bright Data. Let’s get started!
What is Traefik and Why Should You Care?
So, what’s Traefik all about? In simple terms, it’s a reverse proxy that takes the headache out of routing network requests to your services and APIs. I love how it makes managing HTTPS and TLS certificates a breeze—keeping everything encrypted and trusted. Whether you’re running one Docker container or a whole swarm, Traefik steps in as a load balancer, spreading traffic evenly across your services.
What really hooked me is how Traefik integrates with Docker. It automatically spots new containers and sets up routing rules on the fly—no manual tinkering required! Plus, it plays nice with Let’s Encrypt for free HTTPS certificates. Say goodbye to security warnings and hello to smooth sailing.
Why Use Traefik? The Big Wins
- Automatic HTTPS: Traefik grabs and renews TLS certificates for you—security without the stress.
- Dynamic Routing: It updates itself as your Docker setup changes, perfect for fast-moving projects.
- Load Balancing: Spreads traffic across services for better performance and reliability.
- Versatility: Works with Docker now, Kubernetes later—super flexible!
Fun fact: According to a 2021 CNCF survey, over 80% of organizations use containers in production. Tools like Traefik are game-changers for keeping those setups secure and efficient.
Setting Up Traefik with Docker: Let’s Do This!
Ready to get Traefik running? It’s easier than you might think, especially if Docker’s already your jam. Here’s my step-by-step take on setting it up.
Step 1: Make Sure Docker’s Ready
First things first—Docker needs to be installed on your server. If you’re new to this, check out the official Docker installation guide. I’ve got it running on my virtual server, and we’re good to go!
Step 2: Craft a Traefik Config File
Traefik uses a config file to know what’s what. I created a file called traefik.toml in my project folder—here’s a simple version to start with:
[entryPoints]
  [entryPoints.web]
    address = ":80"
  [entryPoints.websecure]
    address = ":443"

[providers]
  [providers.docker]
    exposedByDefault = false

[certificatesResolvers.letsencrypt.acme]
  email = "[email protected]"
  storage = "acme.json"
  [certificatesResolvers.letsencrypt.acme.httpChallenge]
    entryPoint = "web"
This sets up HTTP and HTTPS entry points, hooks Traefik into Docker, and preps Let’s Encrypt for action. Replace that email with yours—it’s where certificate notifications go.
Step 3: Fire Up Traefik with Docker Compose
Next, I whipped up a docker-compose.yml file to run Traefik. Here’s what I used:
version: '3'

services:
  traefik:
    image: traefik:v2.5
    ports:
      - "80:80"
      - "443:443"
    volumes:
      - /var/run/docker.sock:/var/run/docker.sock
      - ./traefik.toml:/traefik.toml
      - ./acme.json:/acme.json
    command:
      - --configFile=/traefik.toml
This pulls Traefik version 2.5, maps ports for HTTP and HTTPS, and links up the config and certificate files. The Docker socket lets Traefik chat with your containers.
Step 4: Launch It!
Run docker-compose up -d in your terminal, and Traefik’s off to the races in the background. You’re now ready to route traffic like a pro!
Securing Things with HTTPS and Let’s Encrypt
Here’s where Traefik shines—automatic HTTPS. I was blown away by how simple this is with Let’s Encrypt. Let’s set it up for your apps.
Step 1: Tag Your Containers with Labels
To get HTTPS on a container, add some Traefik labels. Say you’ve got a web app—here’s how I’d tweak its docker-compose.yml:
services:
  webapp:
    image: your-webapp-image
    labels:
      - "traefik.enable=true"
      - "traefik.http.routers.webapp.rule=Host(`your-domain.com`)"
      - "traefik.http.routers.webapp.entrypoints=websecure"
      - "traefik.http.routers.webapp.tls.certresolver=letsencrypt"
Swap in your domain for your-domain.com. These labels tell Traefik to secure that app with HTTPS using Let’s Encrypt.
Step 2: Point Your DNS
Your domain’s DNS needs to point to your server’s IP. I had to update my records with my registrar—give it a few minutes to propagate.
Step 3: Restart and Watch the Magic
Hit docker-compose up -d again to restart your containers. Traefik picks up the changes, gets a certificate, and bam—HTTPS is live!
Bonus: Supercharge Docker with Web Scraping
Now, let’s talk about something cool I stumbled across—web scraping with Docker. It’s perfect for automating data collection, and our video sponsor, Bright Data, makes it even better.
Bright Data offers tools for web scraping, proxy management, and cloud integration—all inside your Docker containers. I love how their global proxy network lets you bypass geo-restrictions. Testing an app from another country? Scraping region-locked data? It’s a lifesaver.
Why Web Scraping Rocks with Docker
- Automation: Pull data without lifting a finger—great for monitoring or research.
- Scale Up: Run scraping jobs across multiple containers for big datasets.
- Secure: HTTPS-enabled proxies keep your data encrypted, just like Traefik does for your apps.
Curious? Bright Data’s got a free trial—I’d say give it a spin and see how it fits your workflows.
Wrapping Up: Your Turn!
Setting up Traefik with Docker has been a game-changer for me—secure, efficient, and so easy once you get the hang of it. With this guide, you’ve got the steps to make it happen, plus a bonus boost from web scraping with Bright Data.
Have you tried Traefik yet? Or maybe you’ve got a web scraping trick up your sleeve? Drop a comment below—I’d love to chat about it! If you found this helpful, subscribe for more tech goodies, and let’s keep exploring together.


